


Campaign 1
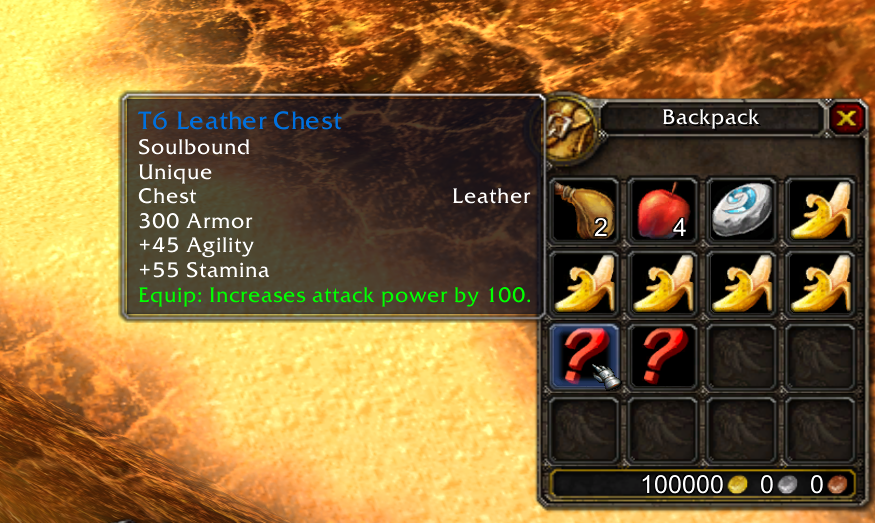
Equip the items from your bag.
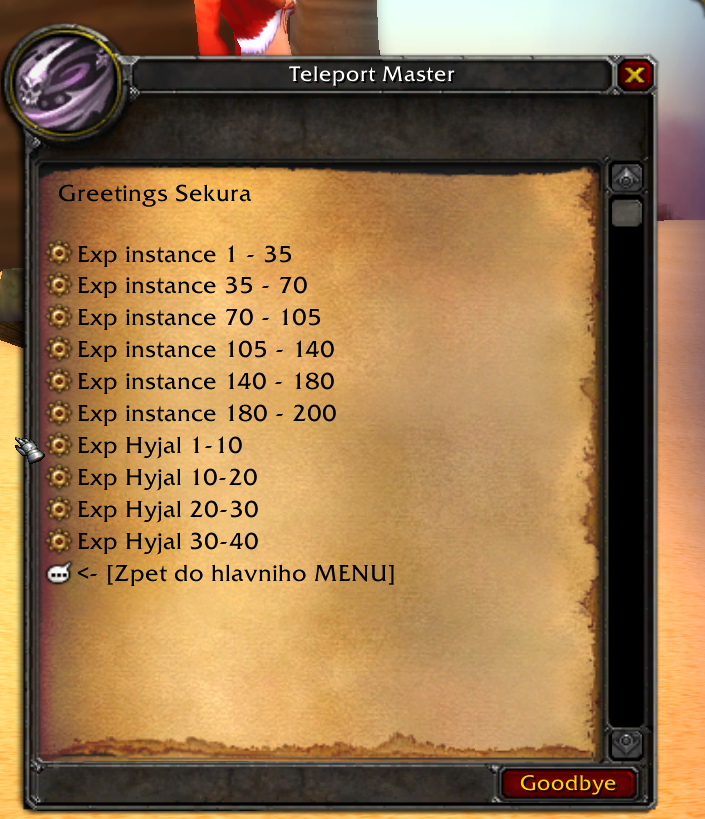
Run to Hyjal and start leveling! 
Pick up the quests.
Campaign 2
Level your character to level 20.
Go train at the Shop vendor.
Campaign 3
Obtain and use basic weapons / gear.
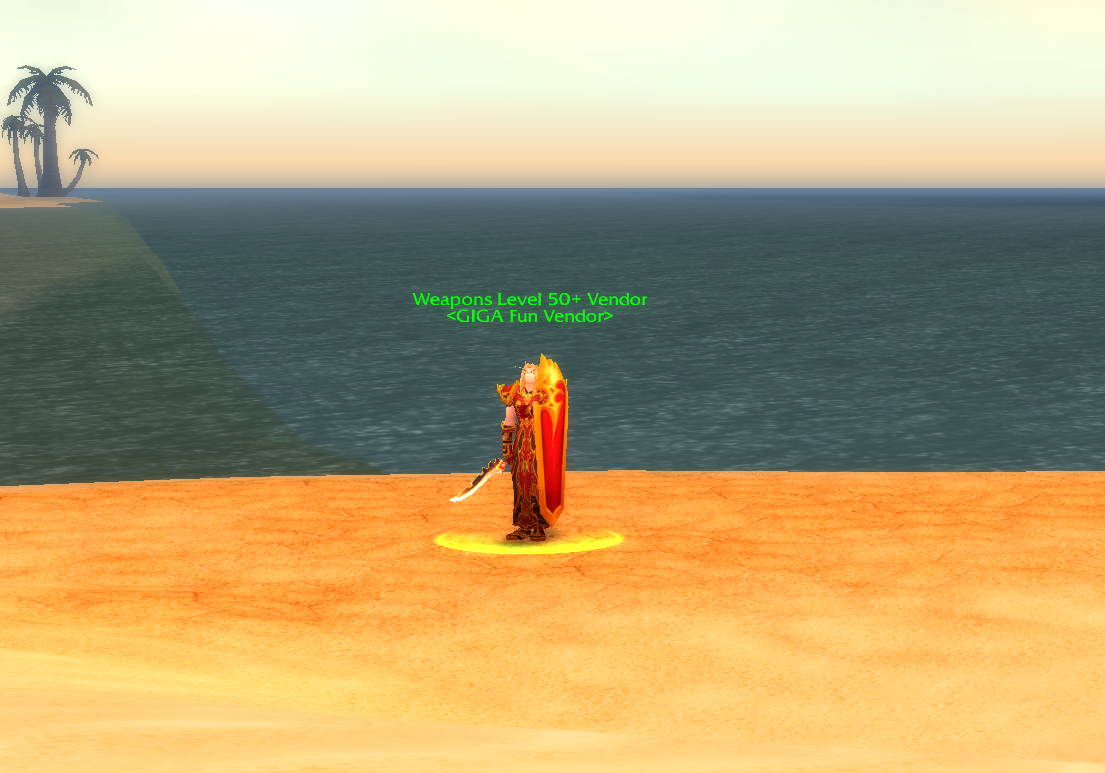
Go buy a weapon from the vendor.
He is hiding in the skill zone on the island beach.
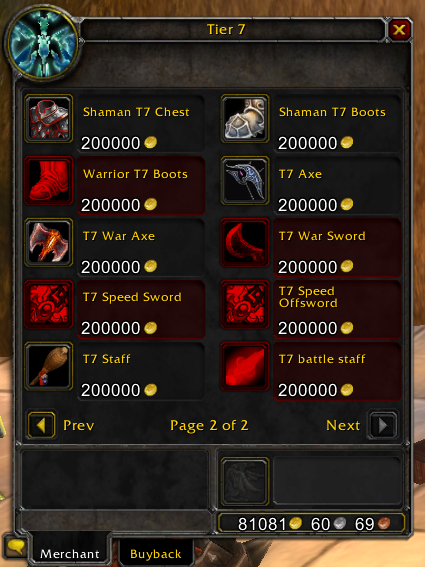
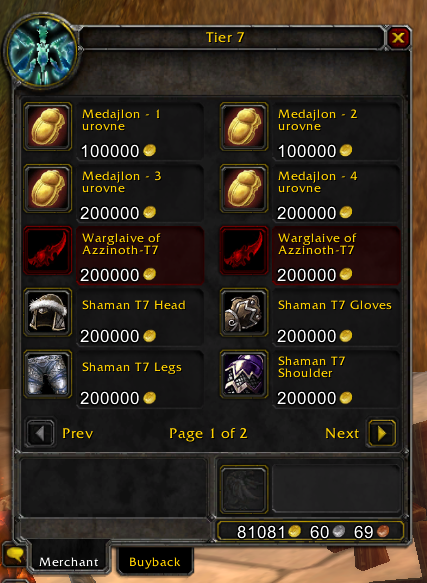
Collect gold for Medallions!!
Gold is also needed to buy gear from the T7 and T9 vendors.
Campaign 4
Complete more quests and prepare for group content (dungeons).
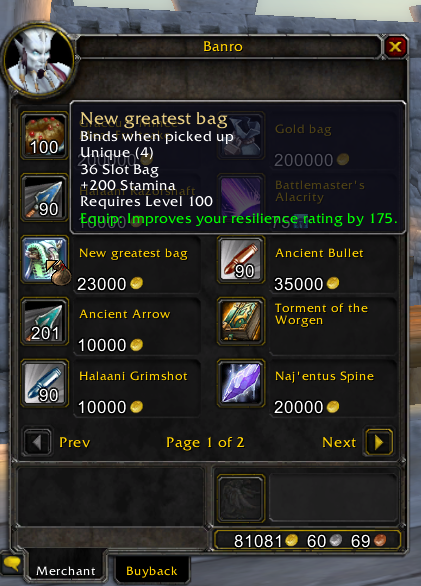
Reach level 100 and buy new weapons at the Shop.
Campaign 5
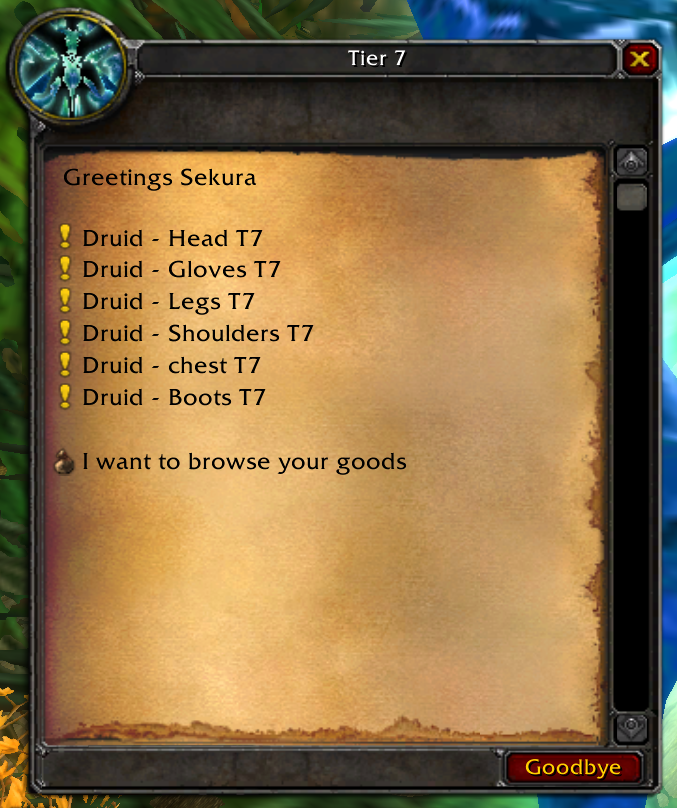
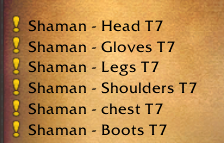
Finish the rest of the T7 quests to get a full set of equipment!
Recommended – Medallions: Collecting is Only Half the Battle
Campaign 6
Obtain all medallions 1, 2, 3, 4.
Reach level 200.
Buy some mounts and bags. Everything you need can be found in the shop.
Your next steps will lead you to Ahn’Qiraj, where you will obtain basic accessories and weapons.
Recommended – Ahn’Qiraj: The First Trial by Fire
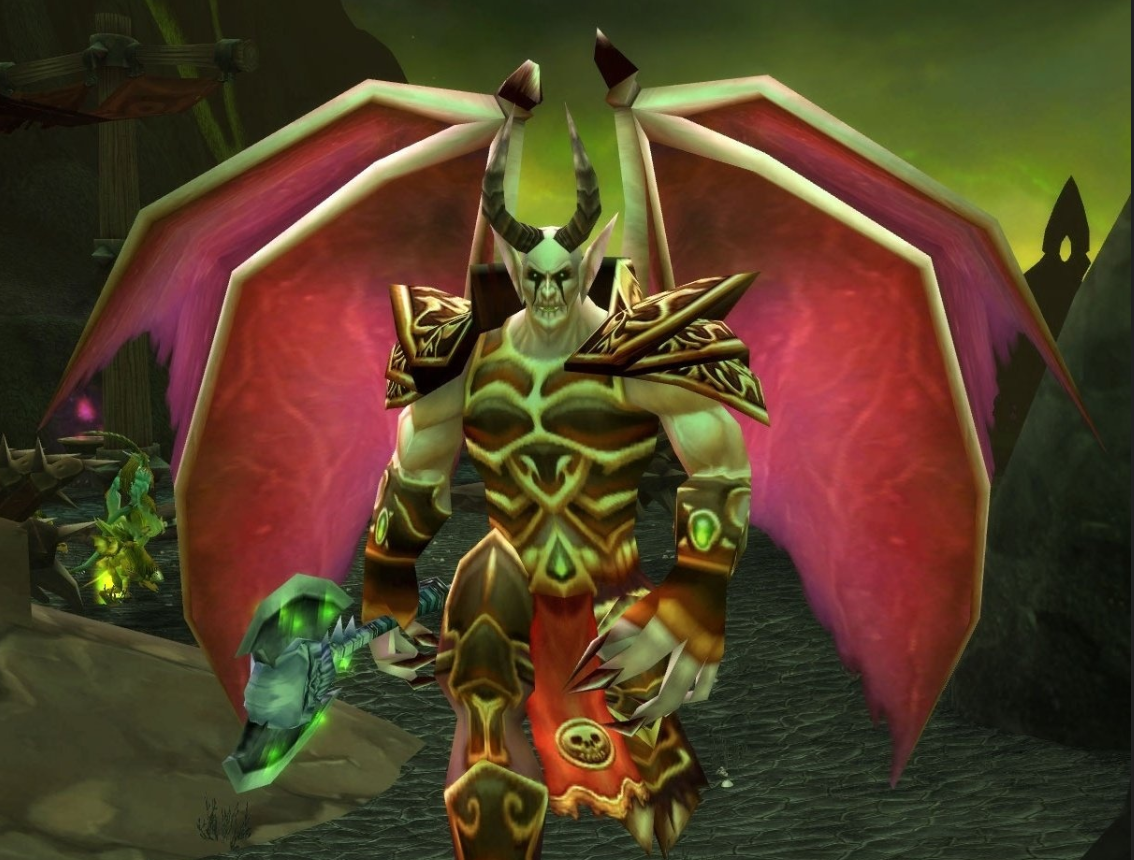
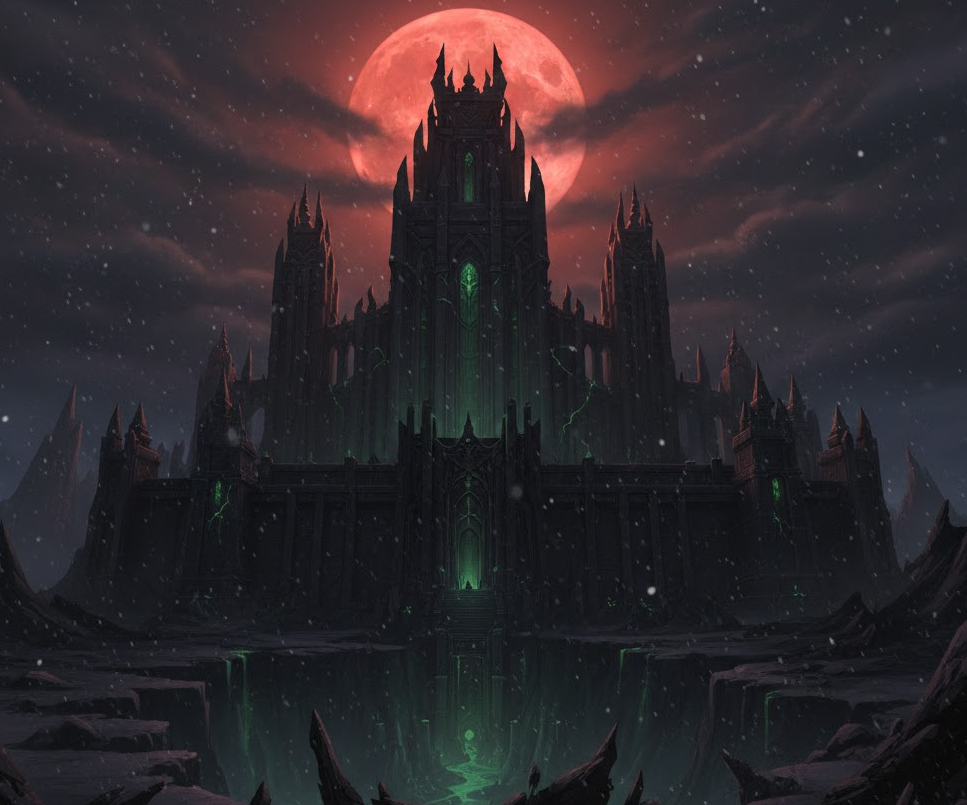
Black Temple
To complete the entire campaign you will need the T11 set, so while completing quests, take advantage of being in the dungeon. Definitely prepare for a long journey and start with T10!
Recommended – T10 Merciless Gladiator’s
Campaign 7 | Black Temple Guide 1
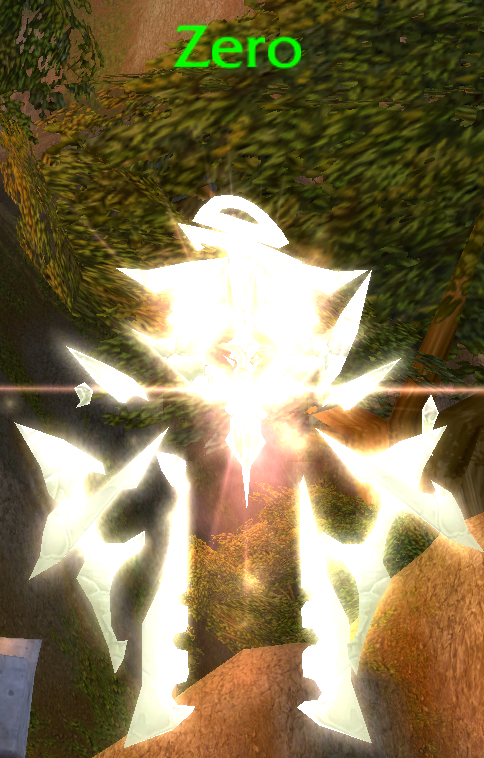
Pick up the quest from Zero at the SHOP.
Fly to BT.
Ashtongue Worker slain (30)
Ashtongue Warrior slain (10)

Return to Zero.
Campaign 8 | Black Temple Guide 2
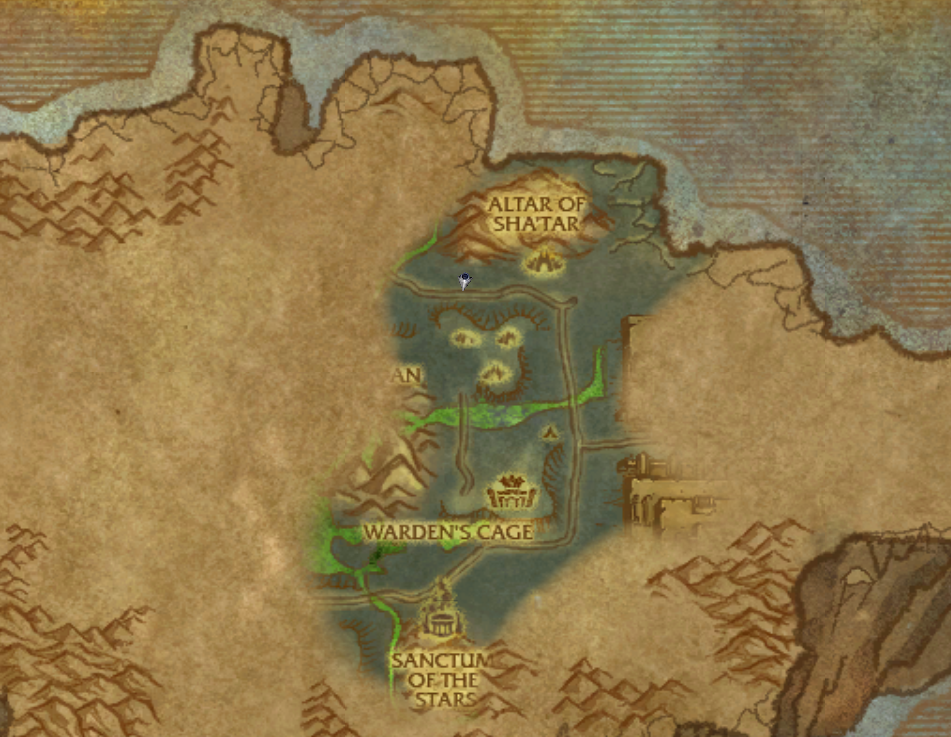
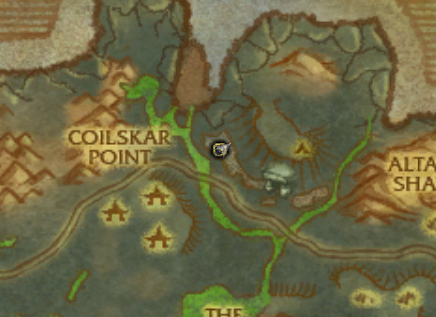
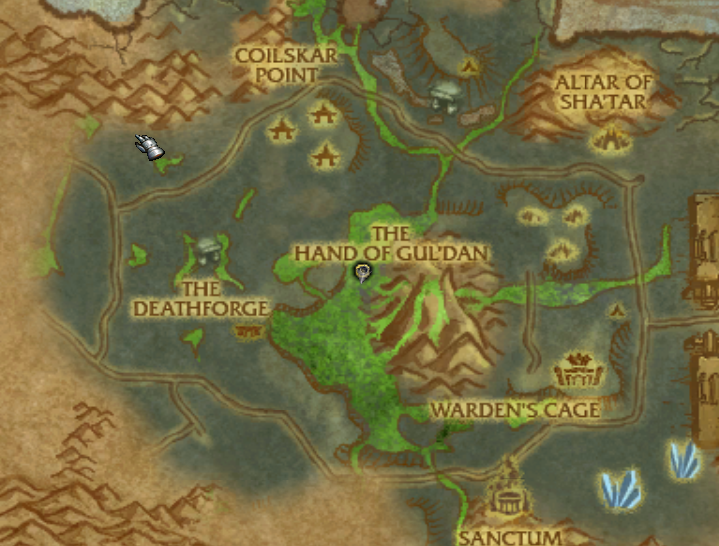
You will find him near the Altar of Sha’tar.
Oronu is located at the highest point.

Already killed him? Return to Zero.
Recommended – Blackwing Lair: A Raid Where Teamwork Matters
Recommended – The Sunwell: For the Brave Only
Campaign 9 | Black Temple Guide 3
Your task is to find fragments and obtain 4 souls. Both objectives can be completed at the same time.
Eykenen’s Medallion Fragment 1x
Haalum’s Medallion Fragment 1x
Lakaan’s Medallion Fragment 1x
Uylaru’s Medallion Fragment 1x
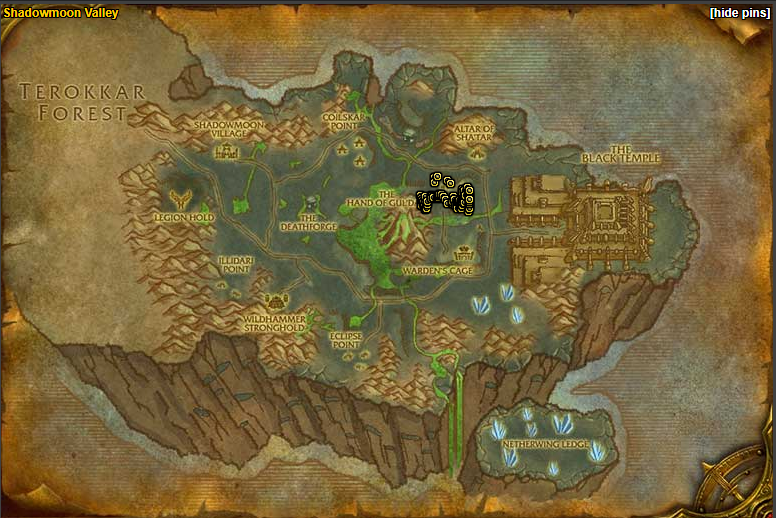
Fragment Locations
Eykenen’s
Haalum’s

Lakaan’s
Uylaru’s
Bring the fragments to Zero.

Campaign 10 | Black Temple Guide 4
Location
This task is easy.
Campaign 11 | Black Temple Guide 5
You need to slay Illidari Agonizer (2).
It is located right outside on the ramparts.
Kill Zandras and Illidari Agonizer.

Campaign 12 | Black Temple Guide 6
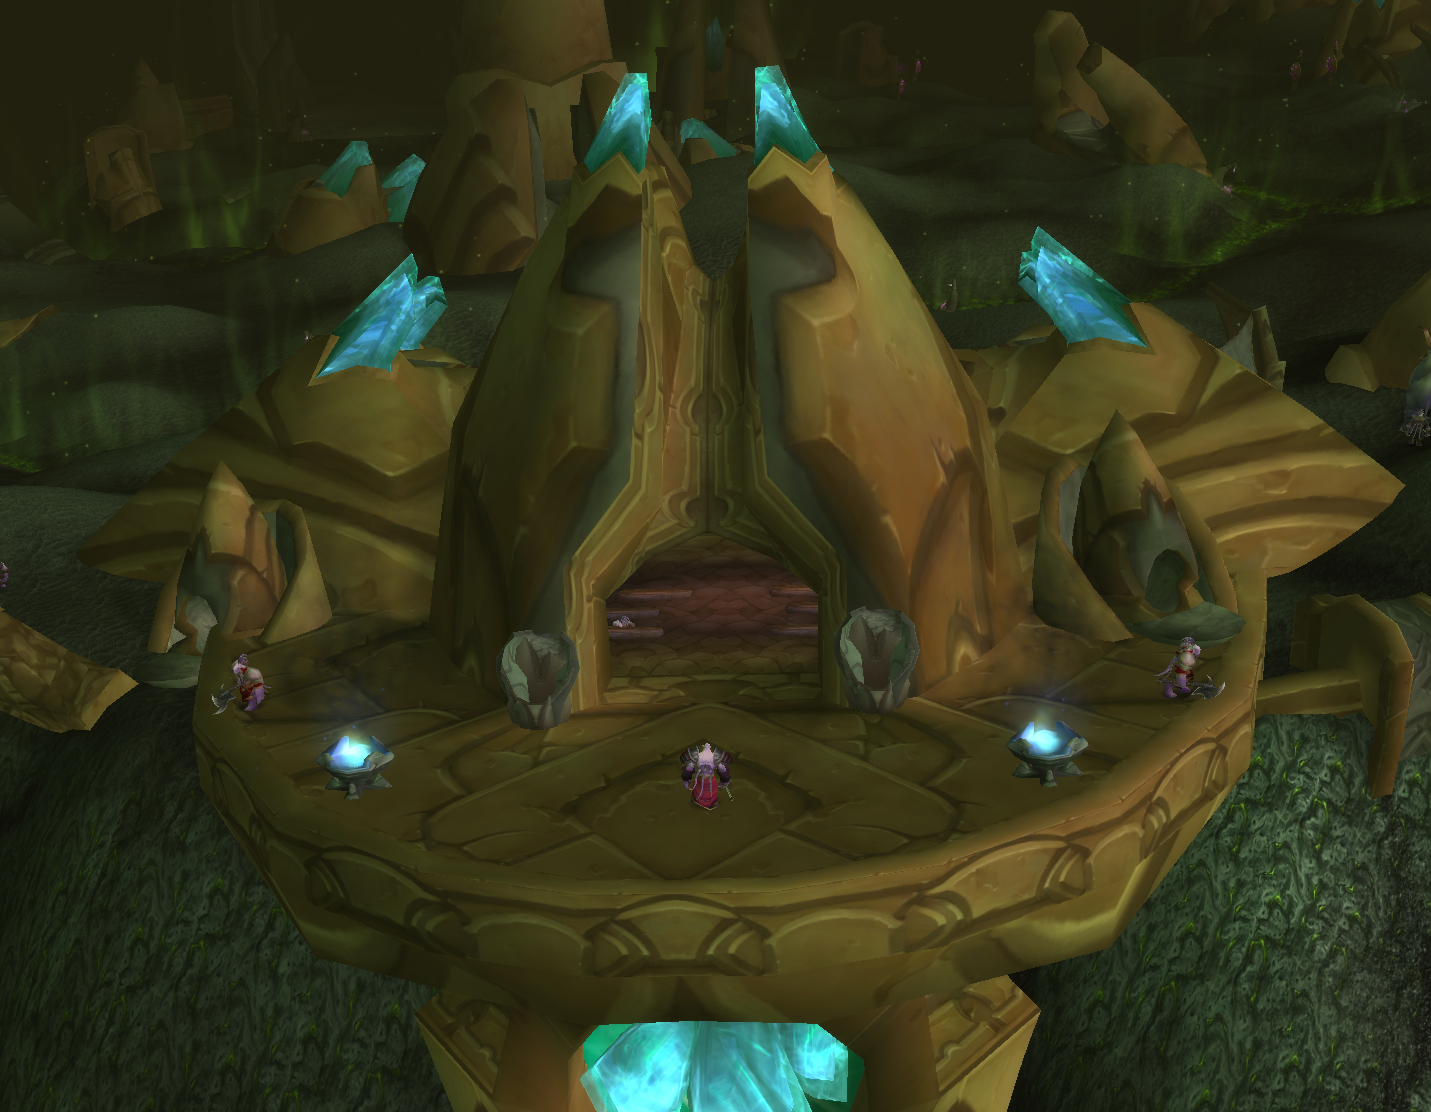
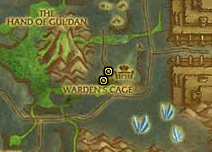
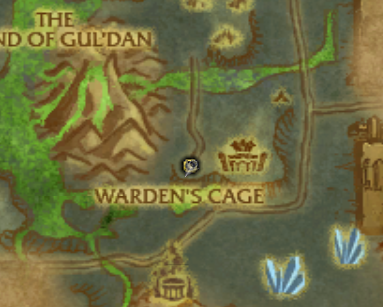
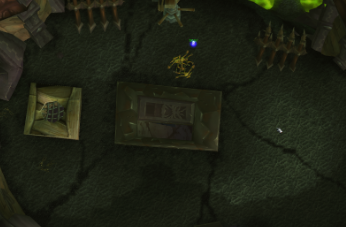
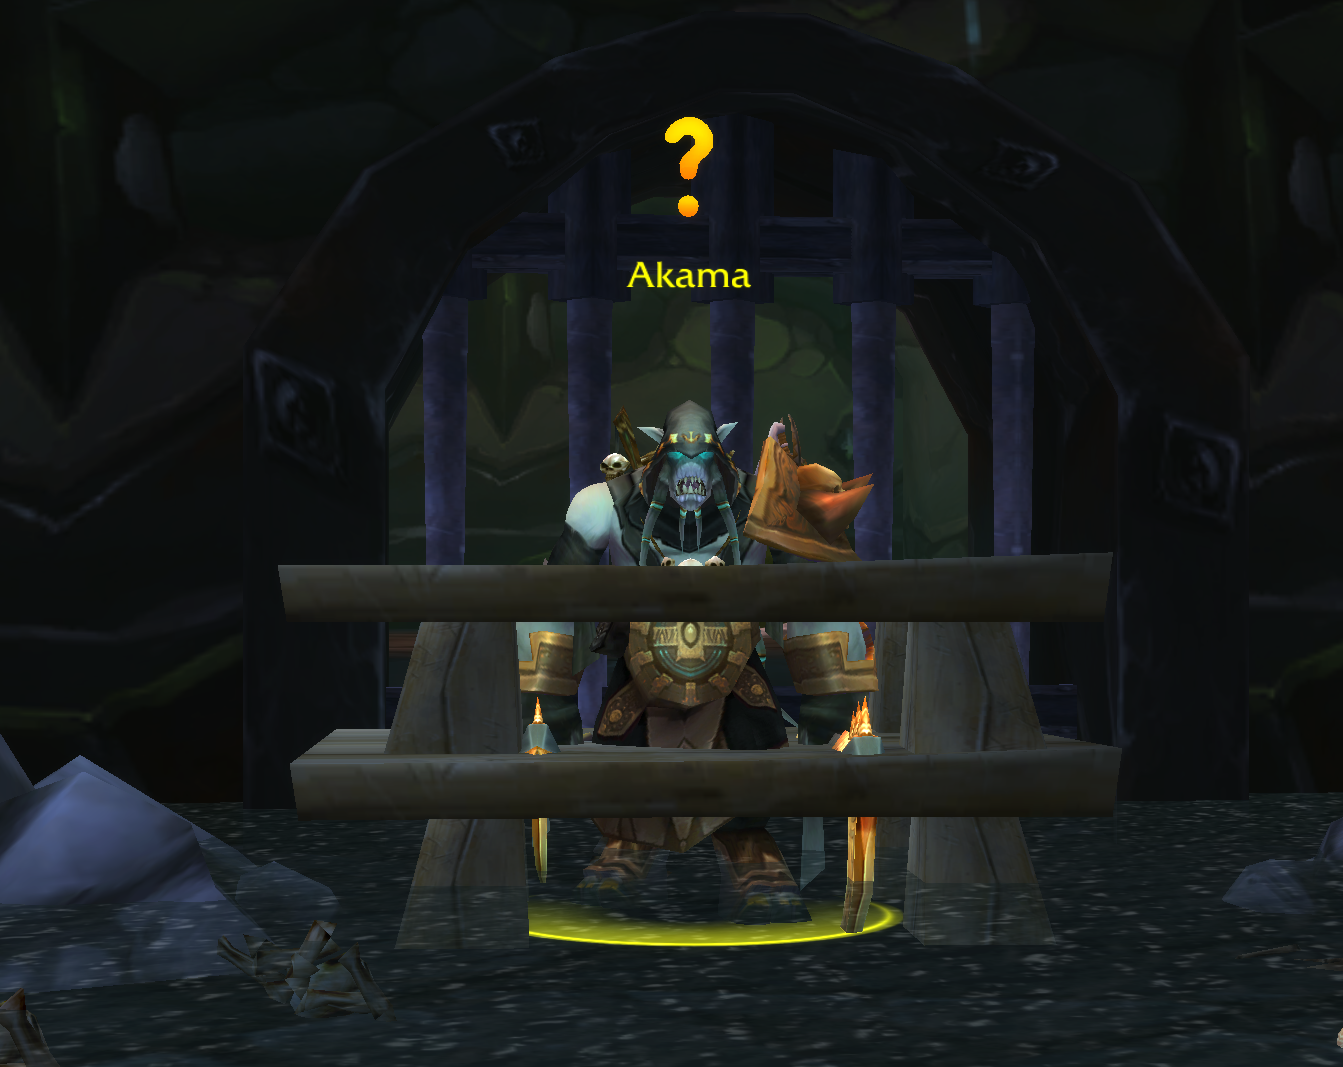
Meet with Akama.
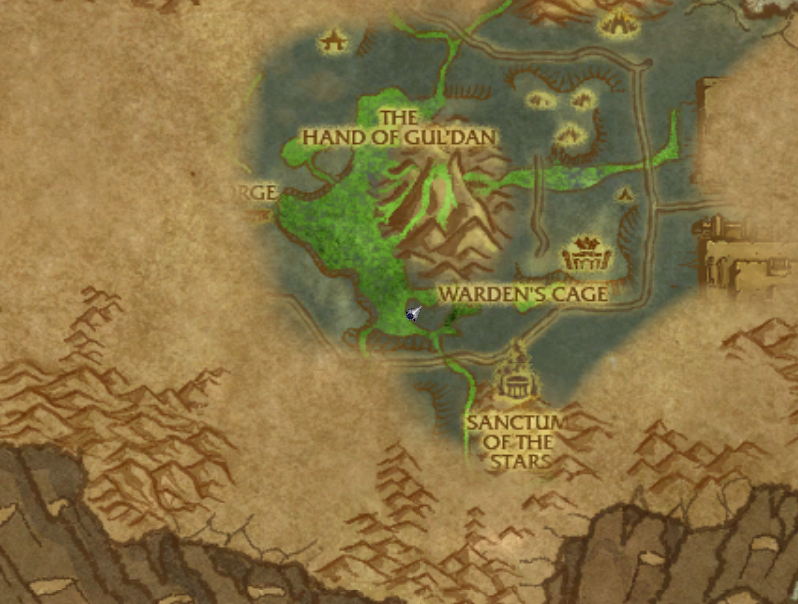
Find Akama in Warden’s Cage in Shadowmoon Valley.
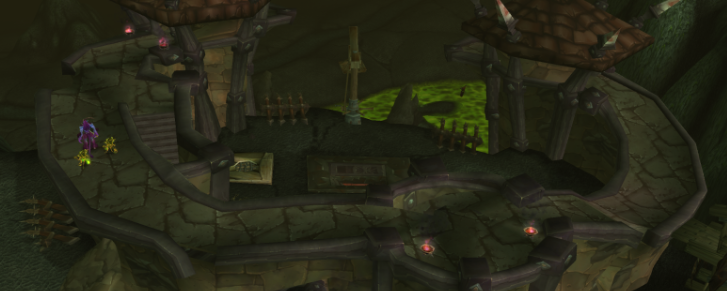
He is hiding below.
He is not far away, just follow the water and find the underwater tunnel.
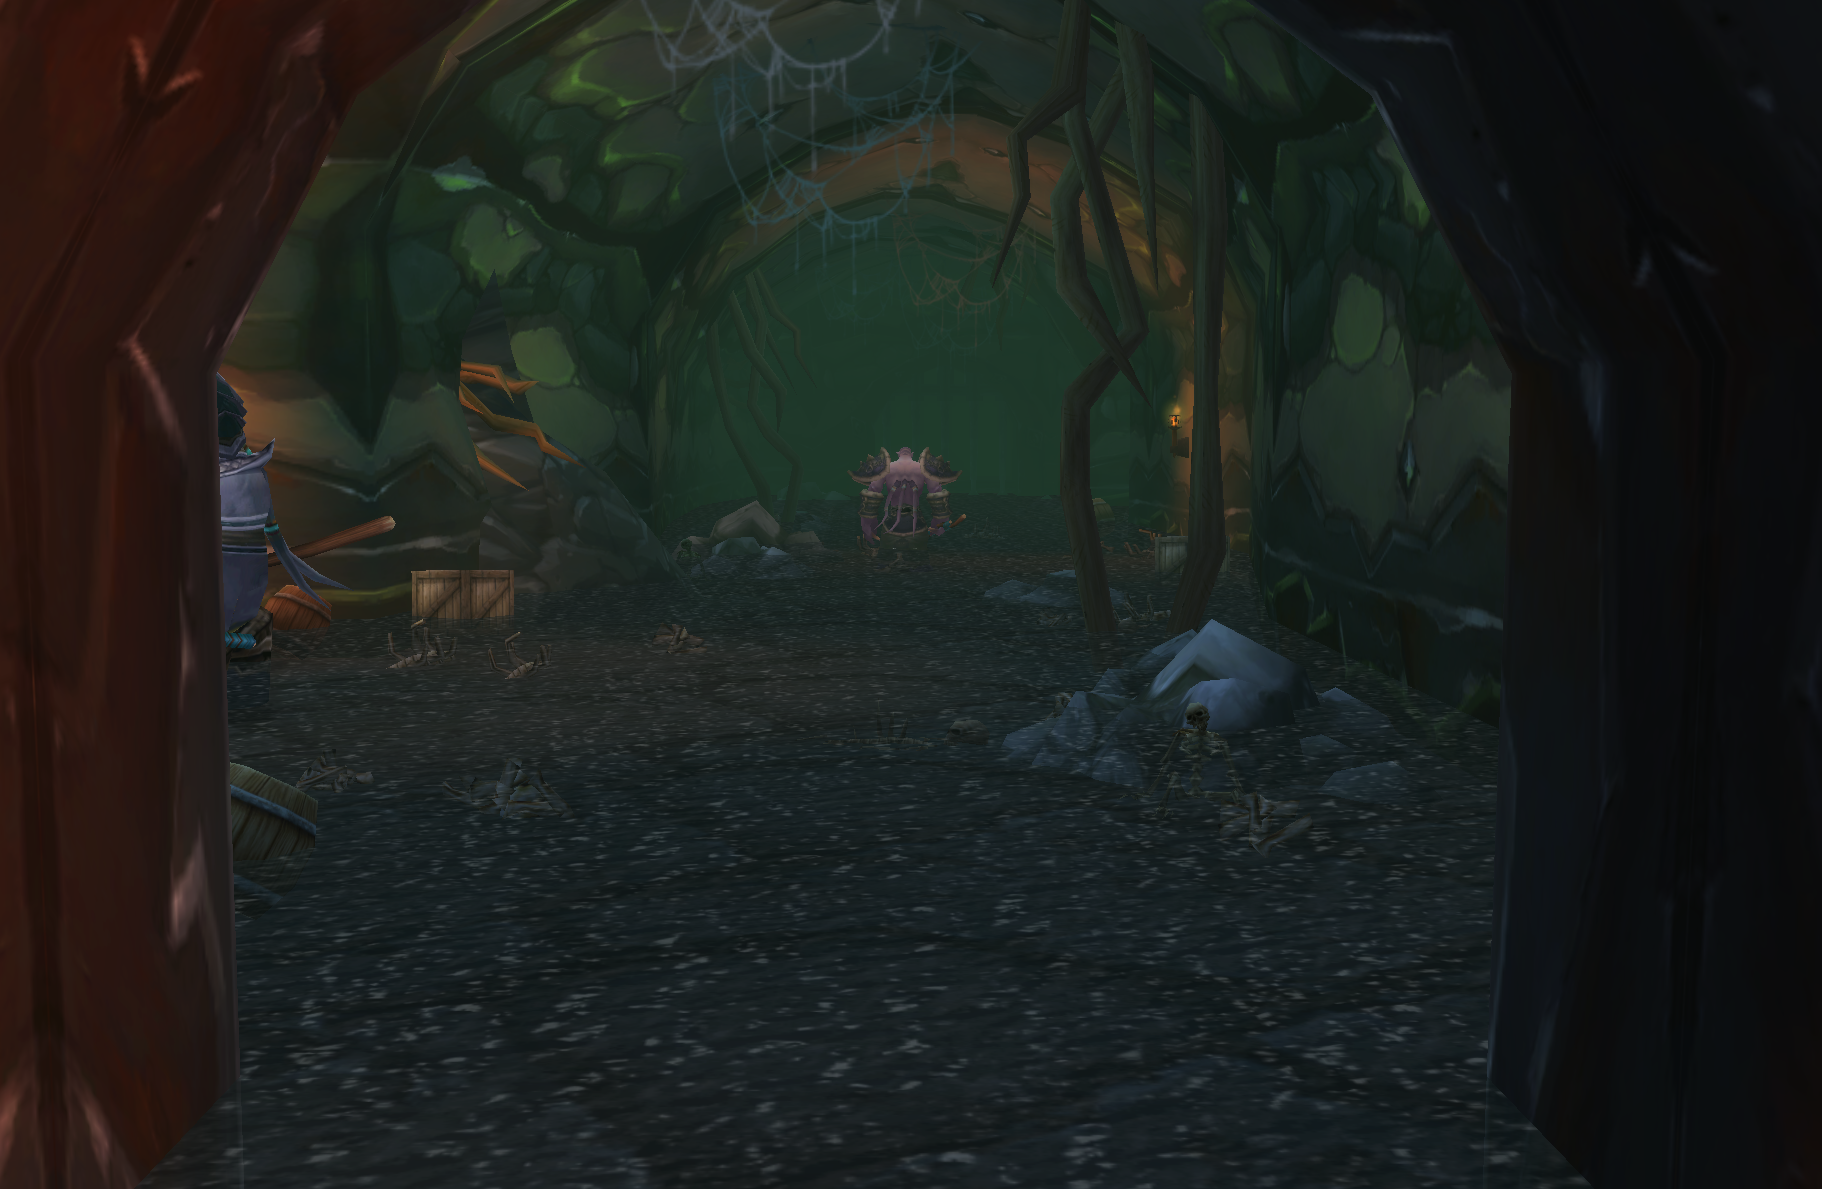
Hold your breath and you will find what you are looking for.
Campaign 13 | Black Temple Guide 7
The next task takes you into an instance.
In Arcatraz you just need to find UDALO and talk to him.
Ethereum Wave-Caster slain (4)
You will need to fight your way through.
In your new quest, use the quest item that was placed in your bag. Use it on NPC Gargantuan Abyssal and Ethereum Wave-Caster.
Campaign 14 | Black Temple Guide 8
The Warden’s Cage
The next task takes you back to where you have already been. Return to the prison through the secret entrance and visit Akama.
Meet with Akama.
Campaign 15 | Black Temple Guide 9
You have been sent to obtain the head of the mighty Shadowlord Deathwail.

You received a quest item in your bag – Flame Sheet. Use it on him to weaken his mighty power.
You will find him at the very top near Black Temple.

Recommended – T11 Sunwell Plateau: Be Competitive
Campaign 16 | Black Temple Guide 10
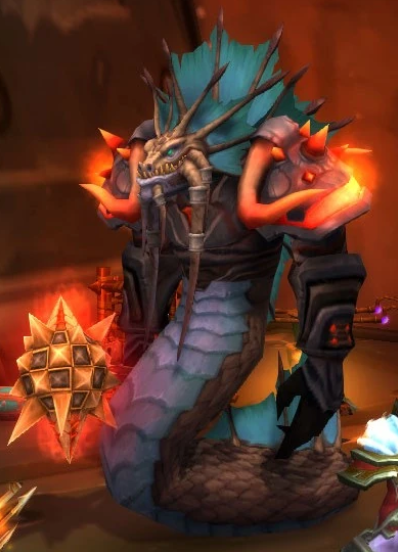
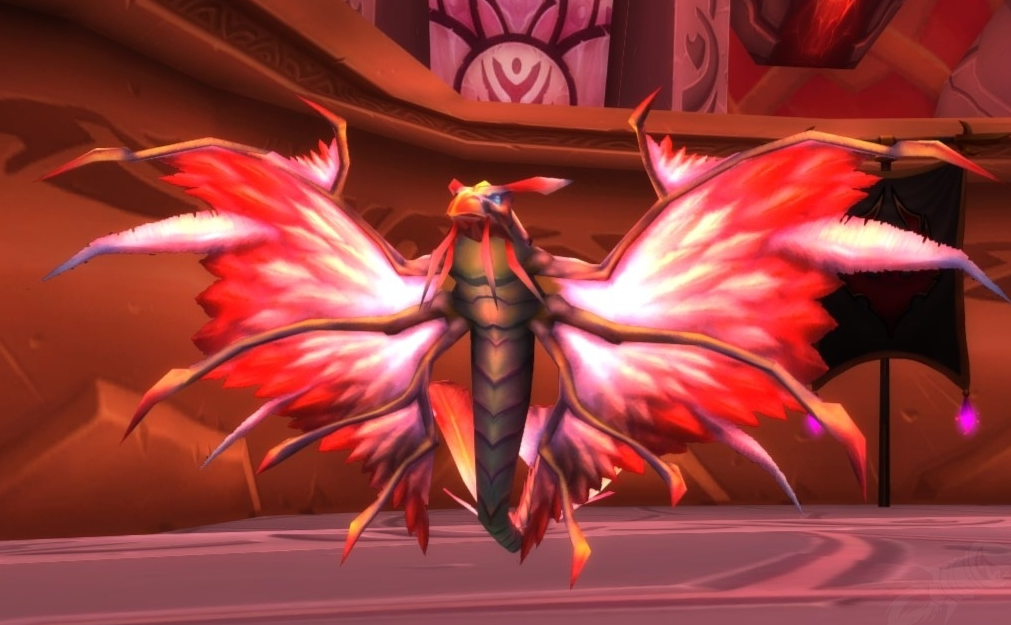
You must head to Serpentine Cavern.
Fight your way to Fathom-Lord Karathress himself!
Campaign 17 | Black Temple Guide 11
You will receive a Cowl in your bag.
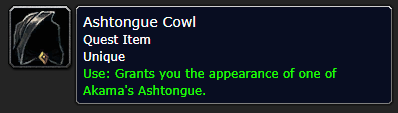
Equip it when you reach Al’ar.
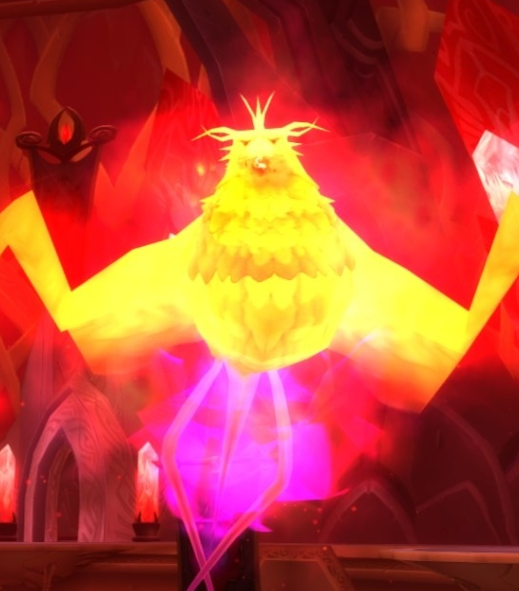
You have a limited time and must keep it equipped until the boss is down.
Phoenix-Hawk Hatchling slain 6x
Campaign 18 | Black Temple Guide 12
A tough, second-to-last task lies ahead of you.
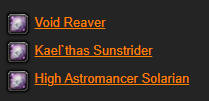
You must go to Tempest Keep and kill several bosses.
The advantage is that they are all in one instance so you don’t need to run around the world.
During this run you will get some nice gear for your hero.
Campaign 19 | Black Temple Guide 13 END
You have just completed the quest for access to Black Temple, but that’s not all…
To complete the entire quest you need to own the T11 set, which can be exchanged for the Dark Set.
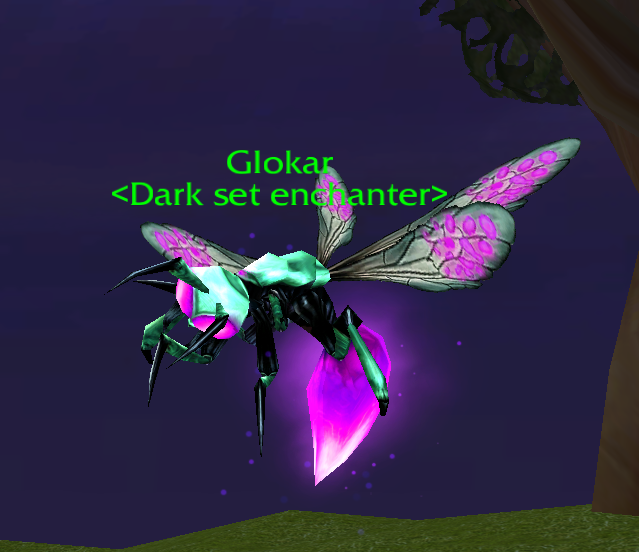
Once you have the full T11 set, head to Nagrand.
Find Glokar and bring him the T11 set to exchange for the Dark Set.
Your reward will also include 10 Event Marks.
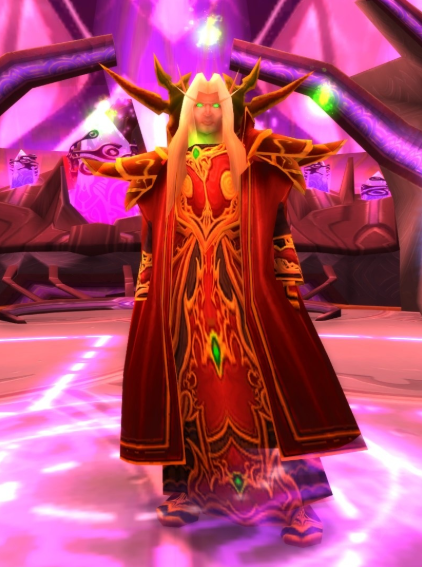
Dark Set
Head to Nagrand.
Find Glokar and bring him the T11 set to exchange for the Dark Set.
Back to Zero
Return to Zero with your new gear.
You will receive another quest to continue.
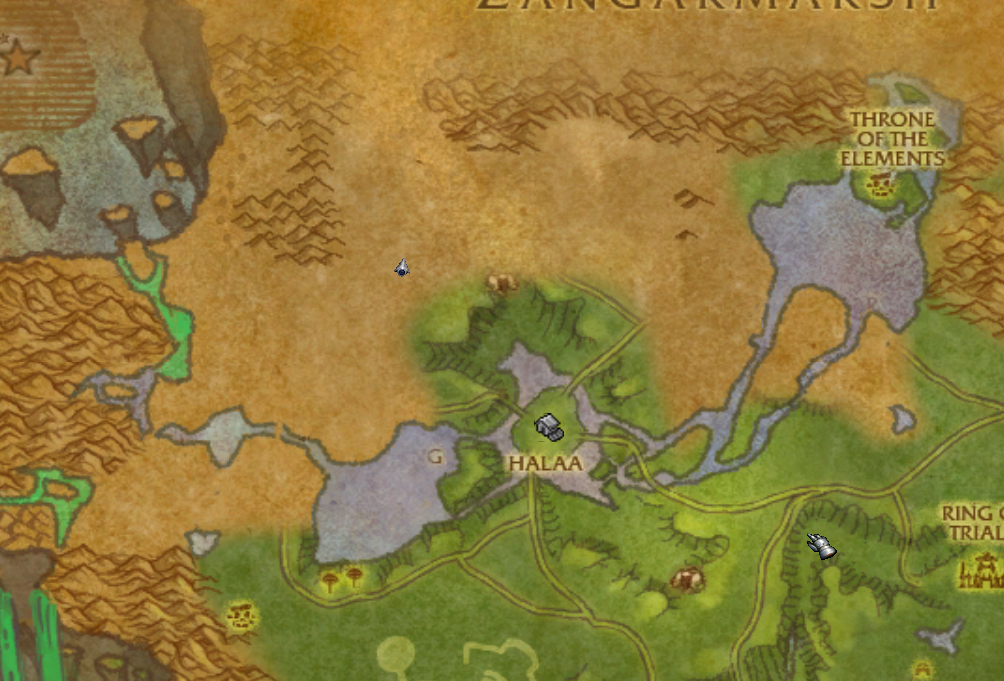
Ahn’Qiraj
Your next task is to clear Ahn’Qiraj.
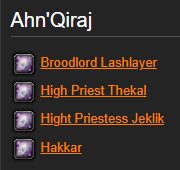
The last boss, Hakkar, can be found in Zul’Gurub.
He is in the middle of the arena at the very top.
Dragon Lords
Visit Gruul’s Lair – take it easy.
Defeat boss Vaelastrasz.
Tempest Keep
During this run you will complete your gear.
Serpentshrine Caverns
You are nearing the end, the difficulty is gradually increasing.
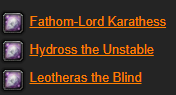
Bring some backup.
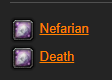
Blackwing Lair
The final task that will prove if you are worthy of the medallion.
Slay Nefarian and Death.
Entry Into the Black Temple
Go to the entrance of Black Temple and speak with Xi’ri.
Where you will receive the Medallion of Azeroth.
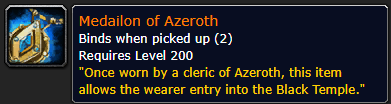
You can now enter Black Temple! 🙂
All done! Continue to